|
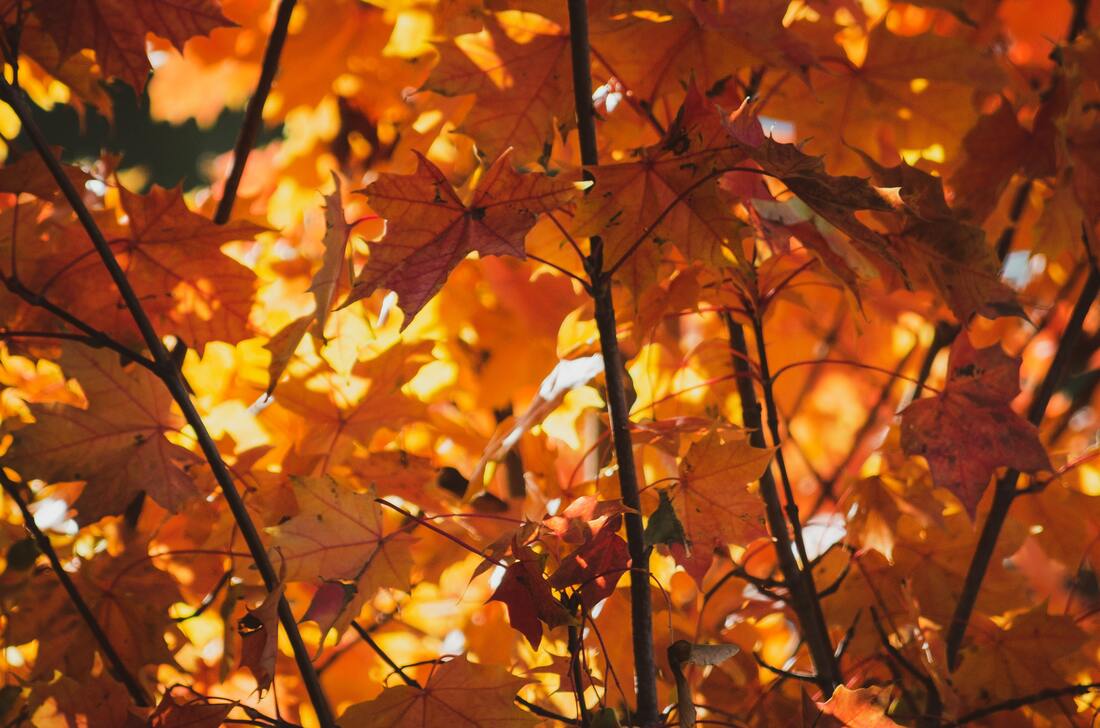
Fall is a great time to plant. The greatest risk to a fall planted tree is frost heaving. This is when the ground is going through a freeze and thaw cycle that damages tree roots. We can completely eliminate the risk of frost heaving simply by placing a four inch thick layer of mulch around the tree. This will insulate the soil which will prevent freezing until much later in the season. If and when the soil does freeze, it tends to stay frozen until the spring thaw.
Now lets talk about the advantages of fall planting. FIRST, the soils tend to be warmer, especially in early fall. SECONDLY, the roots of the tree grow rapidly and push into the soil at approximately the same time that the leaf buds begin to grow. With the fall planting, all that growth happens in your soil and not in a pot at the nursery. This means that the tree will be rooted-in much better when the summer heat hits. THIRDLY, the soil still tends to be moist due to fall rainfall but not soggy like it can be in the spring. FOURTHLY, spring is such a busy time, why not plant in the fall when there is usually more time available. LASTLY, is that trees are often cheaper in the fall than any other time during the year. At our nursery, all of our unsold trees must be packed in wood chips for the winter. We would rather discount a tree than go to the efforts of packing them. Just remember that it is essential to keep the root ball hydrated until the leaves have fallen. After the leaves have dropped, the tree should be watered once more if the soil is dry. According to climate specialists, the winter of 2021 was the driest winter we have had in 12,000 years. We have replaced more trees this year than we have any other season we have been in business. If we have another dry winter, trees may need to be watered even over the winter. As long as trees are mulched and watered, Fall is a GREAT time to plant.
0 Comments
People keep asking if it's still ok to plant trees this late in the year (late June). Absolutely! We plant trees every month of the year that the ground isn't frozen. Is the heat hard on newly planted trees? It is, however, it's much harder on the trees sitting in the nursery in black pots. They are way better off planted in your yard! There is an easy way to combat the heat. Mulch! We highly recommend mulching every tree, regardless of the time of year it is planted, but it's especially advantageous in the summer, because the mulch insulates the roots. It also doubles your water retention. You will need to water your tree more often in the beginning, while the roots are spreading out. Try watering it every day for the first week, every other day for the second week, and then once a week for the rest of the first year. Remember to soak the soil around the root ball to help roots spread farther out. Remember that trees are like great big swamp coolers, and drastically reduce summer temperatures in your yard. Happy planting!
I've had so many people asking about when to plant that I decided to address it in my blog. The question is too broad for one post, so this will be the first in a series of posts on planting times. This post focuses on trees. Bare root trees can be safely planted until they are really leafing out. Most years in SE Idaho that means until the 1st or 2nd week of May. At our nursery, we try to keep the bare root trees in the shade to get an extra week. When it comes to potted trees, the best time to plant is 20 years ago. The second best time is today. You can plant trees any time the ground isn't frozen. When planting trees that were shipped from a warmer climate, use caution. Some trees that are fully leafed out may be damaged by late frosts. At our nursery, we try to bring in our trees when they are dormant to prevent this issue. Using plenty of mulch will help reduce water use on a spring planted tree and protect fall planted tree roots from frost heaving. Happy planting!
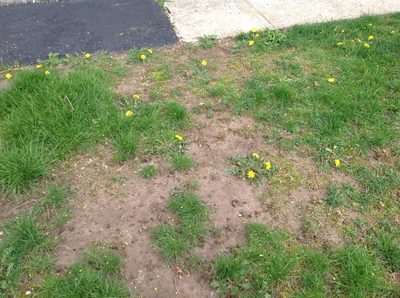
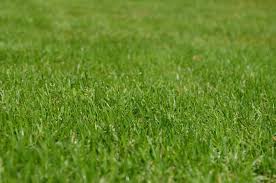
Are you asking yourself if it is time to rent a rototiller and start over on your lawn? That's certainly one way to tackle a yard that's been abused, but it isn't the only way. Unless the yard is really bumpy and uneven, the rototiller just isn't necessary. In fact, tilling just brings up more weed seeds to be exposed to sunlight and germinate. There are 4 simple things that you can do to restore a neglected patchy lawn, rather than re-sodding.
1. Top-dress! Raking a thin layer of compost over the surface of your lawn will dramatically change the way your lawn looks and feels. Here's why. The compost allows any accumulated thatch to quickly decompose. It also allows more irrigation water to be retained, so you will use less water. Your lawn will be more resistant to wear from foot traffic and pets. Also, you're lawn will benefit from the nutrients contained in the compost. When people have come into the nursery complaining about how poor their lawn is. I have usually sold them a bag of compost and told them to rake it over the worst spots. They almost always come back to get more! 2. Mow higher and leave the clippings! Most lawns are mowed too low. I recommend gradually moving the deck up one notch each week, until you are at the maximum height setting and then maintain that height until fall. Leaving longer blades of grass allows the turf to be more efficient. Remember, all the food is manufactured by the leaf, and when we cut too low we limit the turf's ability to manufacture food. Some folks believe leaving the clippings creates thatch, but in reality thatch is just dead crown material with a fairly high cellulose content. The grass blades are mostly water, carbon dioxide, and some nitrogen, which need to be recycled back into the turf. 3. Water properly! Healthy turf roots extend down about 8 inches, so we need to apply water to penetrate to that depth. After your sprinkler is run, slice the turf with a shovel to see how far the water penetrated. You may have to adjust the length of time that the sprinkler has been running to achieve this maximum depth. On soils with a high clay content or that are on a slope you may have to use a technique called spray soak. Spray soaking is where you program the controller with multiple start times. You are still applying the same amount of water, but watering in 10 to 25 minute bursts per station, so that water has a chance to soak in. 4. Fertilize! Compost gets the turf off to a great start, but after 8-10 weeks you will need to feed the lawn again. Remember to feed at a 4/1/1 ration. 4 parts nitrogen, 1 part phosphorous, 1 part potassium. Fertilizers that contain iron and sulfur are beneficial in our soils where we have an abundance of calcium carbonate. Some years ago, I looked at a lawn and I couldn't find one single blade of bluegrass. The lawn appeared to be 100% Johnson (Quack grass). The homeowner just didn't want to spend the time or money to start over, so I had them raise the deck of their lawn mower up, put them on a proper watering schedule, top-dress the really bad spots and begin fertilizing. I was called back 2 years later and I could not find any quack grass. The lawn looked perfect! I asked the homeowner if they'd planted any bluegrass seed. They insisted they had not. Give this a try and let us know how it works! To grow trees in Idaho, we need to be aware of some limitations. The first limitation is the excessive lime in our soil. When the glaciers ground up the limestone mountains north of here, we were left with a wind-blown, ground limestone deposit, in some cases 22 ft. thick. This means that we need to pick trees that are adaptable to this high ph. The second limitation is that SE Idaho is in zones 4-5. I've experimented with some zone 6 plants with some success. The third limitation is some serious pests have now moved into the area, the most notable being borers, that have made growing ash, black locust, and birches very difficult. So here are a few trees that are way under-planted in SE Idaho, but do very well here.
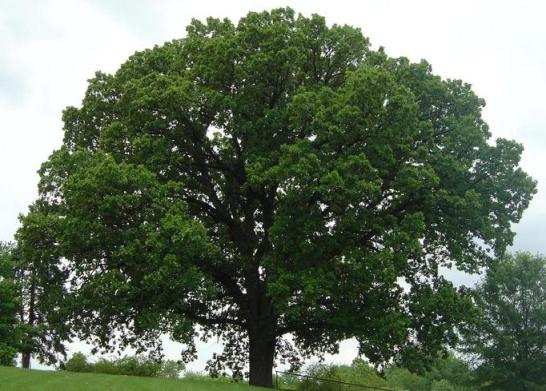
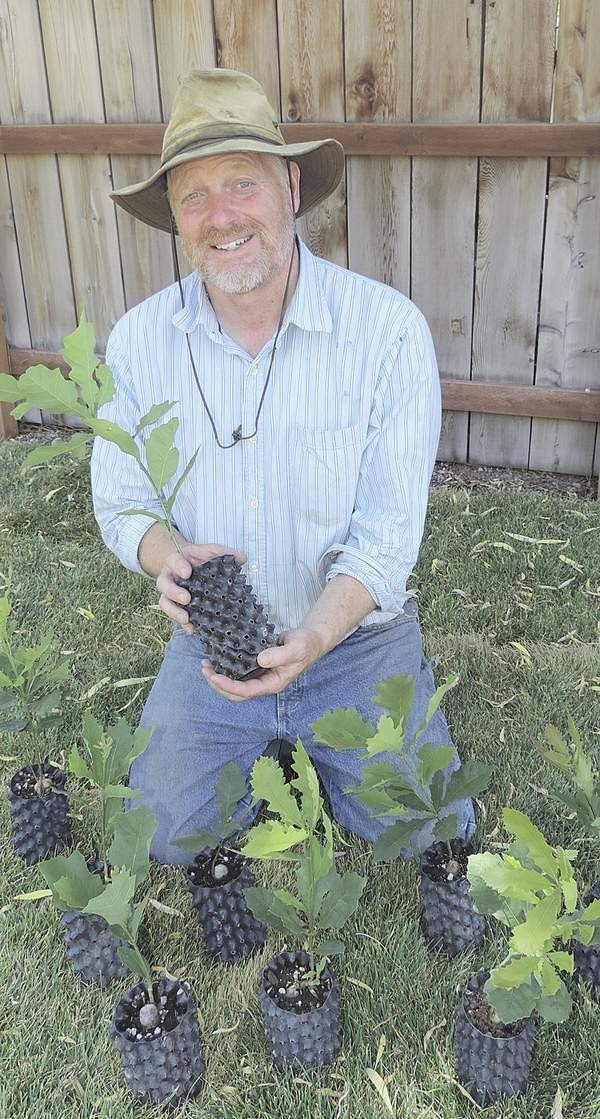
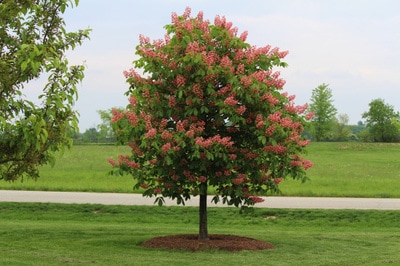
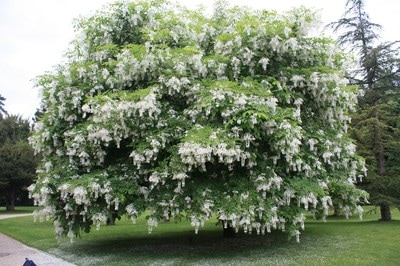
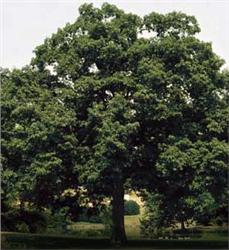
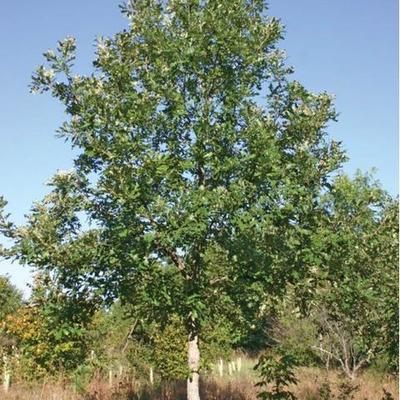
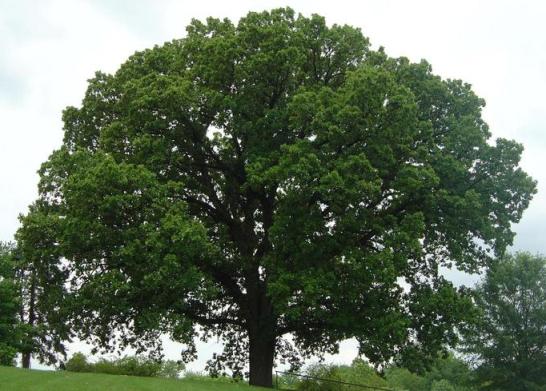
#1 Turkish Hazel 'Corylus colurna' Tree Hazels can grow 6-18 in. a year and can reach 70-80 ft. tall. They are very pyramidal when young, and are shaped just like a Little Leaf Linden. Their beautiful white or tan bark and their dark green leaves make this tree really stand out. They are very adaptable to our soils and climate. They will need regular watering when young, but then become very drought tolerant. In really hot, dry years when so many trees are being scorched, the Turkish Hazels still look gorgeous. The bonus feature with this tree? It produces sweet edible hazel nuts! #2 Chinkapin Oak 'Quercus muhlenbergi' This adaptable tree is native to Canada, The United States, and Mexico. It grows surprisingly fast; I've had several grow over 4 ft a year. They typically reach 80 ft. tall, with the record holder being over 160 ft. It has a dainty branching habit that reminds me almost of birches. It does produce acorns, but they are small, and don't really present a clean up problem, because the squirrels haul them off as fast as they fall. Chinkapins live well over 300 years. Because, like other oaks, it has an aggressive tap root, transplanting is almost impossible, unless you buy from a reputable nursery, who propagated them in air pots. (In some future blog, we'll talk about the benefit of trees grown in air pots.) #3 Red Flowering Chestnut 'Aesculus carnea' This hybrid between the White Chestnut and the Red Buckeye is very beautiful! It gets the large flowers from the chestnut parent and the red color from the buckeye parent. There is a large Red Chestnut in Pocatello that has been the cause of traffic accidents. People are caught completely by surprise when they see this tree in bloom. It grows reasonably fast, up to 3 ft. a year, and doesn't scorch in the summer heat. Studies have been done on what types of flowers humming birds visit most often, and the Red Chestnut and Red Buckeyes scored very high. If you don't have room for the Red Chestnut, which can get quite large, plant Red Buckeyes, which also have the beautiful flowers but are much smaller. #4 Yellowwood 'Cladrastis lutea' This tree has it all! For starters, beautiful, white flowers in panicles up to 15 in. long. It also has beautiful, smooth, grey bark, very similar to a beech. The fall color is a clear yellow. It's in the pea family, so it's roots support nitrogen fixing bacteria, which improve the fertility of surrounding soil. This tree is hard to find at nurseries, but it's worth the effort! I propagate this every year with the intent to grow them larger, but they always sell out. Another tree in the pea family is Kentucky Coffee Tree, which also does very well here. #5 Hybrid Oak 'Quercus macrocarpa x turbinella' This little oak is a hybrid between the big bur oak that grows throughout the mid west and the little live oak that grows in Southern Utah, Arizona, and Mexico. We planted one just for fun in the outdoor smokers lounge at the old Bannock Memorial Hospital. Over the years, it has become such a beautiful tree; most people who see it think it's some kind of holly. This tree was breed by Dr. Walter Cottam at the University of Utah. This tree can be grown without any irrigation, but it looks like a small shrub. However, when it's irrigated, it becomes a beautiful tree with leathery, holly shaped leaves that stay green clear into December. It can reach up to 35 ft. tall, with a 35 ft spread. Remember when we plant trees that are less common we increase the diversity of our plant communities and limit the risk of major pest attacks that can strike trees that are over-planted. Often when visiting people's yards, the owner will tell me how poor the soil was initially and how much work was required to develop it. Soil amending is backbreaking and expensive. Today, I want to talk about a technique for maximizing tree growth in poor soil. The technique is called Colonization.
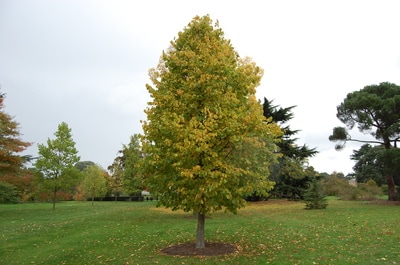
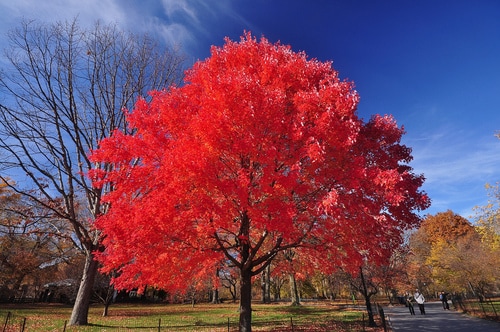
Trees grown in forests live longer, are more disease and pest resistant, and are more drought tolerant than trees in our landscapes. For maximum tree health, we need to mimic what the forest does. In a nutshell, forests drop large amounts of organic matter every year onto the soil surface to slowly decompose. Ideally, you would begin the year before planting by depositing at least 4 inches of ground up tree trimmings. (Make friends with the people who clear the power lines and chip the trimmings.) Then keep it moist. The bigger your mulch circle the better, up to 6 feet in diameter. If you don't have the year to wait, go ahead and proceed from this point. When planting the tree, we introduce an organism that has proven extremely beneficial, mycorihizal fungi. Mycorihizal fungi can be found at most quality garden centers. It can be purchased as a powder or in liquid form. When planting, we pull back the mulch before digging. Dig a hole no deeper than the root ball of the tree. (I actually dig them slightly more shallow.) Remember the old nurseryman's rule. Plant too low, it won't grow! Plant too high, it won't die! Mix fungi with the back-fill dirt, saving some fungi to apply to the surface. When you have finished back-filling and applying your surface fungi, re-mulch. You should keep the mulch at least 2 to 3 inches from the tree trunk. The fungi forms a symbiotic relationship with the tree, providing nutrients in a form that the tree can use. Reapply mulch as it decomposes. it's really that simple! This is the Autumn Blaze Maple, beautiful isn't it? You can usually find it at your big chain stores. (We found one Box Store that had it for sale in several sizes.) So, what's the problem with it? It's a cross between the Red Maple and Silver Maple, both of which do very well in acidic soil. Our soil in SE Idaho is too alkaline. It will usually make it 1 to 2 years, leaves begin to yellow, and it slowly dies. There is a maple with red fall color that is very well adapted to our soil. Look for Norwegian SunSet Maple and Pacific Sunset Maple. These are crosses between the Norway Maple native to Europe and a maple native to Asia.
Sadly, there are quite a few trees that you can buy at the chain stores that won't do well here. Locally owned and operated nurseries usually only carry trees that are adapted to our soil and climate. You can usually find a tree that will have the characteristics you're looking for (size, color, shape) and will thrive here. Are you looking for just the right tree? Stop in and we'll help you find it! Typically in SE Idaho, you will only need to water your lawn from May through September. The average ET (Evapo Transpiration) rate, which means the rate at which water is being sucked from your lawn is depicted in the table below. This is about how much water your lawn will need. The easiest way to measure how much water your lawn is getting is to take a tuna can out and water until it contains the desired inches. One last thing to take into consideration is the amount of rain your lawn is receiving, because this counts toward your water needed. For example, if you get 1 inch of rain the first week in July, you will only need to water an additional inch for that week. Questions? Post them below!
|
Author
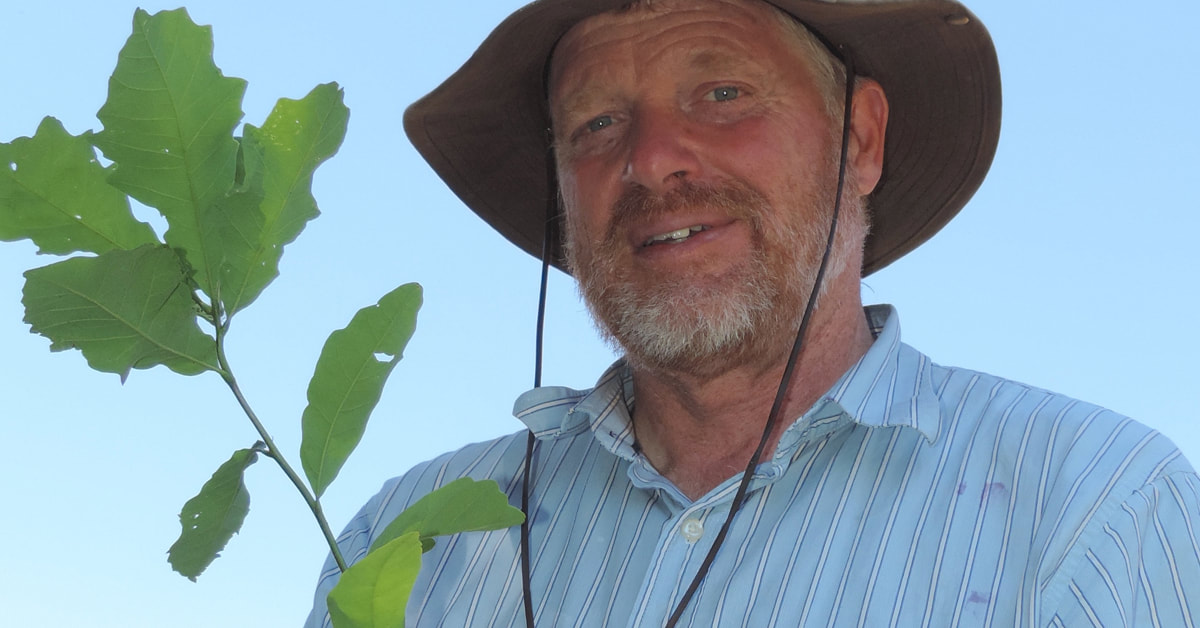
Dave Luker is South East Idaho's tree expert. He has been helping people with their yard and garden questions for years. Do you have a question about your yard or garden? E-mail us at [email protected] and Dave may answer it in his blog! Archives
September 2021
Categories |

 RSS Feed
